

PLEASE SELECT THE DESTINATION COUNTRY AND LANGUAGE :

| Self-production |
| 한국 |
| $10.50 |
| P00000PY |
  |

| Select item with details above |
| Name | Quantity | Price |
|---|---|---|
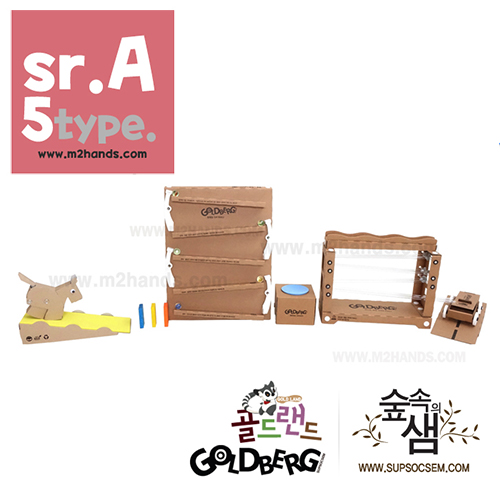
| Goldland Waterfall Trail C-4 / Goldberg / Science Books / After School Classes |


|
10.5 ( 0) 0)
|
Discounted amount of your subtotal will appear when you place your orders.
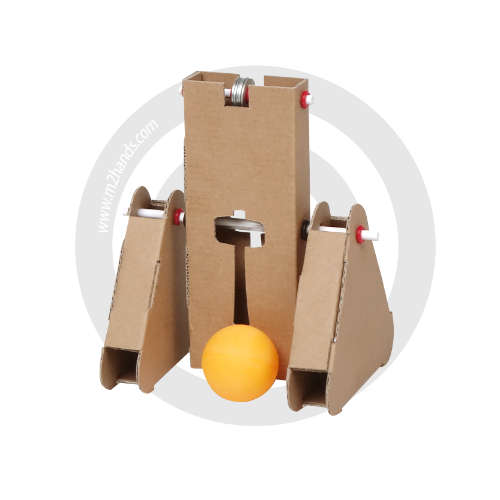
Marbles descend in sequence like waterfalls, triggering other devices
"Waterfall rail"
Material
Corrugated cardboard, Plastic, Rubber
Components
Body, Body support, Transparent rod, Black rubber ring, Snap button, Rail
Goldberg connector.
When the ball rolls and touches the marble on the waterfall rail, the marble descends in
sequence like a waterfall and the last marble starts the ball of another device.
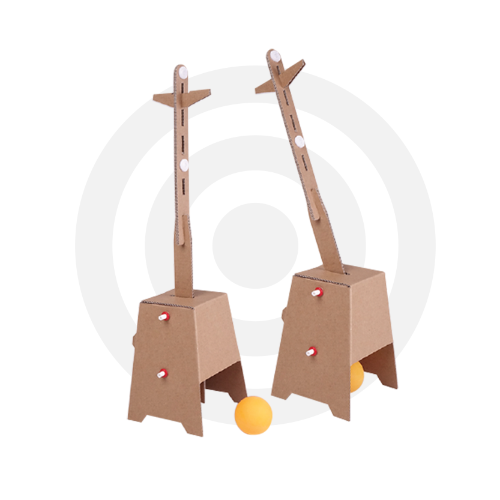
It can be used between C-3 push switch and C-5 double switch, and can be used depending on the situation in other devices.
1 step. Make a body
① Fold the body along the fold line.
Fold the upper right part of the body in the direction of the arrow and insert it.
② Fold the side link of the body and fix it with snap button.
③ Fold the body support along the fold line and fit it into the body bottom groove.
④ Push the body all the way in until it reaches the floor and secure it to the support.
2 step. Make a rail
① Fold the rails along the fold line and secure them with snap buttons by aligning the three grooves on the front.
② Fold the marbles pockets 90 degrees as shown.
③ Fold the marbles pockets 90 degrees once more as shown.
④ Fold the marbles pockets once again by 90 degrees as shown in the figure,
and align the grooves and secure them with snap buttons.
⑤ Make three rails in the same way.
3 step. Complete the waterfall rails
① Insert rubber rings at the ends of the nine transparent rods.
② Insert 9 transparent rods into the groove on the back of the body.
③ Hang the rail on the transparent rod in front of the body as shown in the figure and fix it with a rubber ring.
④ Lay the rails with the marbles pockets pointing to the right.
4 step. Try a waterfall rail
① Place a first marbles in the groove on the back of the body as shown.
The remaining marbles are placed on the rail in front of the body.
② If you place the beads, the marbles pocket on the rail will move upward as shown in the picture.
③ Install so that the push switch works to hit the marbles behind the body.
④ The first marbles behind the body rolls through the front hole and into the first marbles pocket.
*The marbles on the first rail rolls into the marbles pocket on the second rail.
The marbles on the second rail rolls into the third marbles pocket.
The marbles on the third rail rolls over the marbles pocket and activates the next Goldberg device.
There are no posts to show
There are no posts to show
PLEASE SELECT THE DESTINATION COUNTRY AND LANGUAGE :