

PLEASE SELECT THE DESTINATION COUNTRY AND LANGUAGE :
| Self-production |
| 한국 |
| $6.74 |
| $38.00 |
| P00000NV |
  |

| Select item with details above |
| Name | Quantity | Price |
|---|---|---|
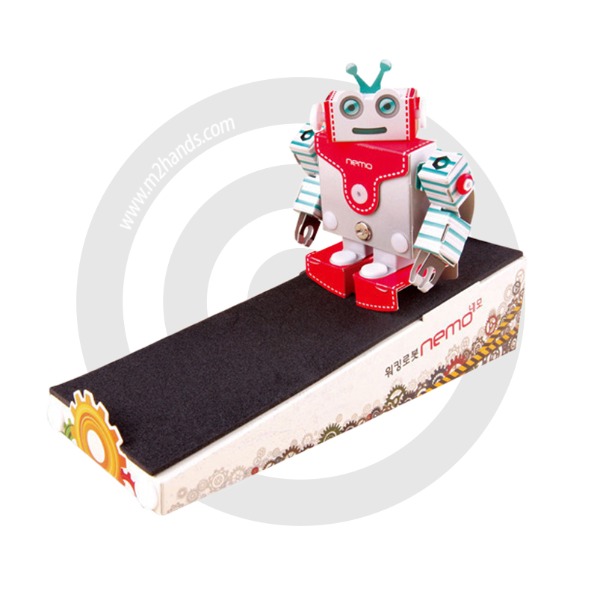
| Working Toy NEMO for 1 person / After School Textbook / Gift Education / Scientific Gifted |


|
6.74 ( 38.00) 38.00)
|
Discounted amount of your subtotal will appear when you place your orders.
Material
Paper (body), EVE plate, Styrofoam, Plastic rods, Rubber, Stainless.
Components
Paper Board, Rod, Rubber Ring, Bolt, Pin Bolt / Nut, Snap Nut / Bolt
It is a creative teaching tool that can induce scientific curiosity and learn the principles of science by assembling a working toy that is familiar to children.
① Fold the robot hand in the shape as shown.
② Fold the arm along the fold line and insert it into the groove as shown.
③ Insert the middle rings of the assembled arm into the grooves and fix them.
④ Insert the locking hook of the hand into the front of the completed arm.
2 Step. Assembling the robot legs
① Fold the robot foot along the fold line.
② Fold the robot leg and insert the hook into the groove to fix it.
③ Fold the bottom of the leg out as shown.
④ Align the hole of leg and foot and fix it with snap bolt and nut.
*Secure the snap bolt, nut by pressing it or rotating it.
3 Step. Assembling the robot head and body
① Fold your head along the fold line.
② Fold the body and fix the side by using the locking hook.
③ Hold the base of the body by hand and spread it out slightly.
* If the bottom of the body is concave, robot legs may not move.
④ Fix it by using pin and pin nut at two places under the robot body.
* Place the pin and the nut in the groove and press with your hand to secure the pin.
⑤ Insert the center of gravity bolt and nut into the groove at the bottom of the body and fix it by turning.
⑥ Insert the snap bolt into the robot's head and press it by hand.
⑦ Insert the thread of the snap bolt into the groove on the upper part of the body and fix it with a nut.
⑧ Fold the sides of the robot's head and insert it inside.
⑨ Insert the antenna into the top of the head as shown.
⑩ Thread the snap bolts on each side of the head to make ears.
4 Step. Assembling of the robot body and legs
① Insert the leg into the body and fit the rod into the holes of the leg and body.
*Check the position of your feet when placing your legs in the body.
② Cover the body and fix it with pin bolts and nuts.
③ Fold your shoulders in a Z shape.
④ Insert the folded robot shoulders on both sides of the body.
⑤ Fit the arm assembled to the rod and fix it with rubber rings.
5 Step. Assembling the inclined plate and inclined throttle
① Fold the inclined plate along the fold line and fix it with snap bolts and nuts.
*Fold the cover inward and assemble as shown in the picture.
② Finished slope plate.
③ Peel off the sticker on the EVA plate and fix it on the inclined plate.
④ Fold the guide of the inclined throttle to the fold line.
⑤ Insert the hook of the inclined throttle into the groove to fix it.
⑥ Completed look.
6 Step. Try to operate the square walking robot
① Lower both arms of the working robot and place it on an inclined plate.
② Push the walking robot's ear (snap bolt) to tilt it, then let go.
③ Place the inclined throttle in front of and behind the inclined plate to observe the movement of the walking robot.
There are no posts to show
There are no posts to show
PLEASE SELECT THE DESTINATION COUNTRY AND LANGUAGE :